

-
Welcome to Tacoma World!
You are currently viewing as a guest! To get full-access, you need to register for a FREE account.
As a registered member, you’ll be able to:- Participate in all Tacoma discussion topics
- Communicate privately with other Tacoma owners from around the world
- Post your own photos in our Members Gallery
- Access all special features of the site
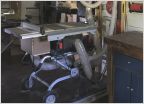 Automated Dust Collection
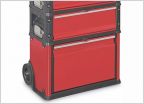 Rolling toolbox recommendations
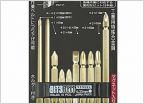 JIS Screwdriver Set Recommendations
 Transfer panel/Generator
 About Wood Finishes...
Anything welding
Discussion in 'Garage / Workshop' started by EL TACOROJO, Sep 17, 2010.
Page 181 of 1497
Page 181 of 1497
Products Discussed in


