

-
Welcome to Tacoma World!
You are currently viewing as a guest! To get full-access, you need to register for a FREE account.
As a registered member, you’ll be able to:- Participate in all Tacoma discussion topics
- Communicate privately with other Tacoma owners from around the world
- Post your own photos in our Members Gallery
- Access all special features of the site
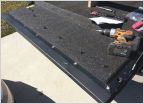 Dynolock Automatic Tailgate Lock - Product Review
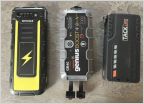 Jump packs
 Gazelle Tents G6 Cool Top 6-Sided Portable Gazebo
 Alpine ILX-W650
 Audew 2000A Jump Boost pack
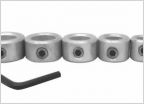 Prinsu Access Rack Cautionary Tale
Tracrac TracOne (Universal) Review/Build for 05+ Tacoma Bed Rack
Discussion in 'Product Reviews' started by XXXX, Sep 8, 2013.
Page 2 of 3
Page 2 of 3


