

-
Welcome to Tacoma World!
You are currently viewing as a guest! To get full-access, you need to register for a FREE account.
As a registered member, you’ll be able to:- Participate in all Tacoma discussion topics
- Communicate privately with other Tacoma owners from around the world
- Post your own photos in our Members Gallery
- Access all special features of the site
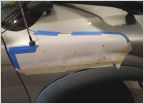 Hilux 167 Snorkel for 3.4L Tacoma
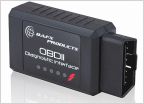 Bad gas cap even after replacing?
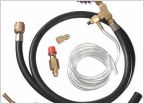 Fuel pressure testing port kit needed: 98 2.7
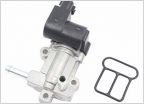 Another IACV Post
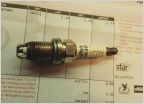 3.4 V6 '02 PreRunner - Stumble during accel/hill
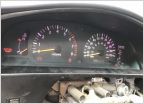 Dash cluster lights
What have you done to your Tacoma today? 1st Gen Edition
Discussion in '1st Gen. Tacomas (1995-2004)' started by SlimDigg, Feb 7, 2011.
Page 3120 of 11220
Page 3120 of 11220
Products Discussed in


