-
Welcome to Tacoma World!
You are currently viewing as a guest! To get full-access, you need to register for a FREE account.
As a registered member, you’ll be able to:- Participate in all Tacoma discussion topics
- Communicate privately with other Tacoma owners from around the world
- Post your own photos in our Members Gallery
- Access all special features of the site
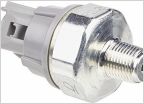 Coolant temp sensor
 Quality Clutch for 2006 Tacoma 4 cylinder
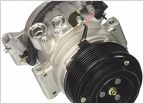 A/C compressor leaking, 46k
 Best gear lube for rear diff
 Survival gear/ supplies to keep in a four banger.
Fog Lamps Help
Discussion in '4 Cylinder' started by alexander323bc, Mar 26, 2011.
Page 3 of 3
Page 3 of 3