

-
Welcome to Tacoma World!
You are currently viewing as a guest! To get full-access, you need to register for a FREE account.
As a registered member, you’ll be able to:- Participate in all Tacoma discussion topics
- Communicate privately with other Tacoma owners from around the world
- Post your own photos in our Members Gallery
- Access all special features of the site
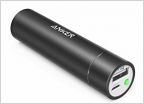 Anyone else have an Anker phone charger?
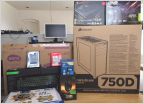 Any PC Builders Out There?
 Best Qi comparible case for iphone 7
 Laptops...... ugh...
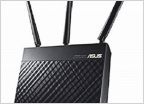 IT Help Request - Router Recommendations
 Handheld GPS recommendations
3D Printed Shifter Knob (1st gen)
Discussion in 'Technology' started by slodoug, Mar 6, 2021.


