

-
Welcome to Tacoma World!
You are currently viewing as a guest! To get full-access, you need to register for a FREE account.
As a registered member, you’ll be able to:- Participate in all Tacoma discussion topics
- Communicate privately with other Tacoma owners from around the world
- Post your own photos in our Members Gallery
- Access all special features of the site
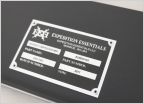 Smittybilt 2781 in Expedition Essentials Mount
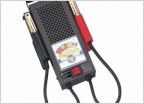 Slow cranking, multiple tries to start engine
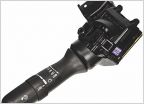 Non intermittent wipers
 Are Toyota filters HEPA rated?
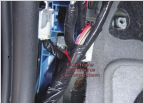 Sirius Radio for 2009/2010 Tacoma
 12v fridge vs 12v fridge with freezer
COMPLETED 5th Gen 4Runner BBK upgrade for 2nd Gen Tacomas
Discussion in 'Technical Chat' started by nudavinci64, Aug 4, 2017.
Page 11 of 24
Page 11 of 24
Products Discussed in


