

-
Welcome to Tacoma World!
You are currently viewing as a guest! To get full-access, you need to register for a FREE account.
As a registered member, you’ll be able to:- Participate in all Tacoma discussion topics
- Communicate privately with other Tacoma owners from around the world
- Post your own photos in our Members Gallery
- Access all special features of the site
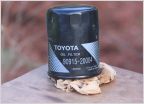 Tacoma Factory oversized oil filter, really?
 Canopy overhead storage ideas
 Beach Vacation Gear Help
 Changing rear diff fluid 2009 sport
 Rock Knobs and steelies.
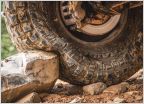 What psi to air down?
2014 Satoshi Grill Project
Discussion in '2nd Gen. Tacomas (2005-2015)' started by lellosnow, May 6, 2015.


