

-
Welcome to Tacoma World!
You are currently viewing as a guest! To get full-access, you need to register for a FREE account.
As a registered member, you’ll be able to:- Participate in all Tacoma discussion topics
- Communicate privately with other Tacoma owners from around the world
- Post your own photos in our Members Gallery
- Access all special features of the site
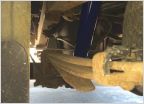 Leaf Springs twisting?
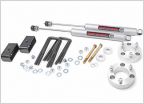 Noob needs help with lift
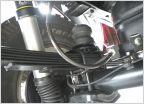 Bump stop spacers
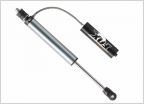 Shocks for a heavily modded 05 lifted Tacoma? (lots mods)
 Stock Leaf Springs
DIY LCA Bushing Replacement 2005+ Tacoma (4x4)
Discussion in 'Suspension' started by XXXX, Sep 7, 2011.
Page 29 of 45
Page 29 of 45
Products Discussed in


