

-
Welcome to Tacoma World!
You are currently viewing as a guest! To get full-access, you need to register for a FREE account.
As a registered member, you’ll be able to:- Participate in all Tacoma discussion topics
- Communicate privately with other Tacoma owners from around the world
- Post your own photos in our Members Gallery
- Access all special features of the site
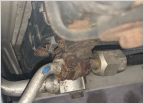 What part is this? AC/Condenser Line Connection
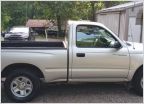 New to me Tacoma 2002
 99 2.7 4x4, Rough Idle Poor MPG. Update
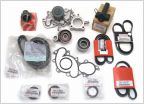 Timing belt / water pump 2002 toyota tacoma
 Flush before or after radiator swap?
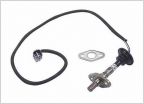 Upstream vs downstream O2 sensors
1st Gen A/C System Replacement How-To (Seized Compressor)
Discussion in '1st Gen. Tacomas (1995-2004)' started by geodude, Aug 31, 2013.
Page 2 of 9
Page 2 of 9


