

-
Welcome to Tacoma World!
You are currently viewing as a guest! To get full-access, you need to register for a FREE account.
As a registered member, you’ll be able to:- Participate in all Tacoma discussion topics
- Communicate privately with other Tacoma owners from around the world
- Post your own photos in our Members Gallery
- Access all special features of the site
Quick Links: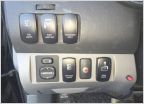 Fog Light Switch
 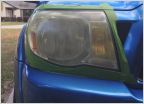 06 original headlights - restoration/ maintenance
 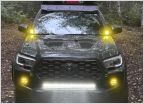 Camp/work light setups! Show them off!
  Meso 3rd brake light wiring question
 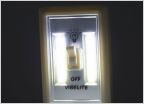 Easiest/cheapest solution to interior lights/topper lights (battery operated COB LEDs)
  Troubleshooting loss of High-beams on 04' after Retrofit install
1st Gen Lighting Adjustment
Discussion in 'Lighting' started by 186000mps, Jan 17, 2012.


