

-
Welcome to Tacoma World!
You are currently viewing as a guest! To get full-access, you need to register for a FREE account.
As a registered member, you’ll be able to:- Participate in all Tacoma discussion topics
- Communicate privately with other Tacoma owners from around the world
- Post your own photos in our Members Gallery
- Access all special features of the site
 Car solutions reverse anytime + front camera install
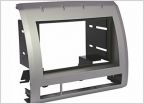 Hows this setup?
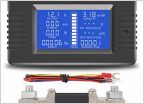 Voltmeter
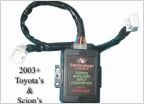 2006 with JBL wanting aftermarket upgrade
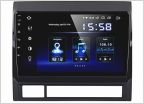 Wireless Android Auto is working on my new PX6 Dasaita
 2012 Stereo Upgrade
How to fix the button lights on oem radio after LOC install
Discussion in 'Audio & Video' started by Revelations, Oct 6, 2015.
Page 1 of 2
Page 1 of 2


