

-
Welcome to Tacoma World!
You are currently viewing as a guest! To get full-access, you need to register for a FREE account.
As a registered member, you’ll be able to:- Participate in all Tacoma discussion topics
- Communicate privately with other Tacoma owners from around the world
- Post your own photos in our Members Gallery
- Access all special features of the site
 Looking for JBL E-Tune specs and info
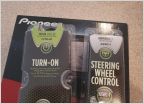
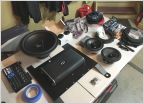 Sound System Upgrade with Pioneer DMH-WC6600NEX
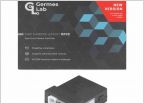 Anybody using the Germes Labs RFCC on 2021 TRD OR non-JBL?
 3rd gen headunit suggestion/question
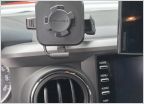 Wiring a USB cable behind the dash
2016 Tacoma Double Cab Audio Install Build
Discussion in 'Audio & Video' started by garyinok, Nov 23, 2015.
Page 1 of 5
Page 1 of 5
Products Discussed in


