

-
Welcome to Tacoma World!
You are currently viewing as a guest! To get full-access, you need to register for a FREE account.
As a registered member, you’ll be able to:- Participate in all Tacoma discussion topics
- Communicate privately with other Tacoma owners from around the world
- Post your own photos in our Members Gallery
- Access all special features of the site
 2005 4cyl spark plug change
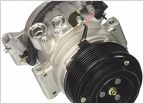 A/C compressor leaking, 46k
 Does everyone use 0w20 synthetic
 Quick 4cyl oil change help
 90915-YZZD1 Vs 90915-YZZD3?
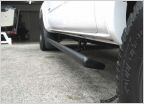 Where can i find automatic steps for a 05+ single cab.
2/3RZ Oil System Photo Reference
Discussion in '4 Cylinder' started by wildfyr3, Feb 4, 2016.


