

-
Welcome to Tacoma World!
You are currently viewing as a guest! To get full-access, you need to register for a FREE account.
As a registered member, you’ll be able to:- Participate in all Tacoma discussion topics
- Communicate privately with other Tacoma owners from around the world
- Post your own photos in our Members Gallery
- Access all special features of the site
 Looking for a fabric bra to cover bumper, grill, lower hood
 Touch up Paint?
 AT-205 Reseal to stop squeaks?
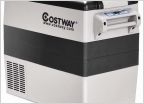 Costway 54qt Fridge? Cheaper Alternative and Just as Good?
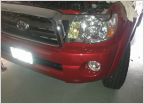 Best eBay fog lights!
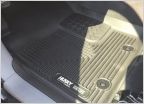 Husky Xact floor liners
Bedxtender - Installed well, but a warning on drill template
Discussion in 'Product Reviews' started by altercation, Feb 15, 2016.


