

-
Welcome to Tacoma World!
You are currently viewing as a guest! To get full-access, you need to register for a FREE account.
As a registered member, you’ll be able to:- Participate in all Tacoma discussion topics
- Communicate privately with other Tacoma owners from around the world
- Post your own photos in our Members Gallery
- Access all special features of the site
 Black grille and corner lights >?
 Auxiliary Fuse Box and Bracket-another option
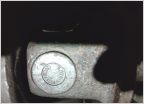 U Joints for a '96 4x4
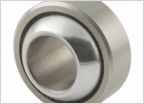 Bilstein 5100 bushing replacement
 [Looking for] 1st Gen Tacoma - Rear BUmper Tire Carrier
 Front bumper question
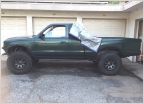
What have you done to your Tacoma today? 1st Gen Edition
Discussion in '1st Gen. Tacomas (1995-2004)' started by SlimDigg, Feb 7, 2011.
Page 5073 of 11226
Page 5073 of 11226
Products Discussed in


