

-
Welcome to Tacoma World!
You are currently viewing as a guest! To get full-access, you need to register for a FREE account.
As a registered member, you’ll be able to:- Participate in all Tacoma discussion topics
- Communicate privately with other Tacoma owners from around the world
- Post your own photos in our Members Gallery
- Access all special features of the site
Quick Links: 2013 Multimedia OEM Bluetooth Radio 07-13
 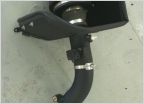 2nd gen K&N cold air intake
 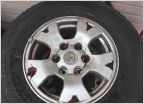 Dunlop Grandtrek AT20 245/75r16 Stockers on TRD Offroad Wheels
 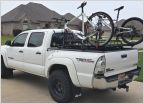 Full Yakima BedRock System with Bike Trays and LoadWarrior
 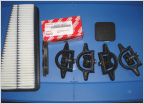 For Sale : 2009 - OE air filter, font brake pads and Bed rail cleats
 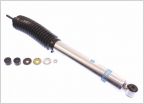 FS: BRAND-NEW Bilstein 5100 Rear Shocks
FS: ECGS front diff bearing tools
Discussion in 'Buy / Sell / Trade' started by NateMob, Aug 1, 2016.


