

-
Welcome to Tacoma World!
You are currently viewing as a guest! To get full-access, you need to register for a FREE account.
As a registered member, you’ll be able to:- Participate in all Tacoma discussion topics
- Communicate privately with other Tacoma owners from around the world
- Post your own photos in our Members Gallery
- Access all special features of the site
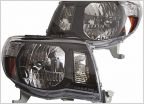 Wanting to buy some new LED halo lights, advice?
 You think you’ll be more likely to be pulled over with LED lowbeams?
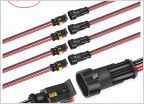 What 12v wire for hellas
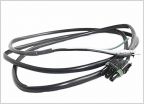 Need help wiring Baja Design S8 light bar to Switch Pro 9100
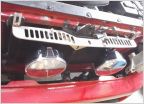 Behind grill light suggestions
 Tailgate brake light
Yet another Fog On Anytime
Discussion in 'Lighting' started by caribe makaira, Aug 6, 2016.


