

-
Welcome to Tacoma World!
You are currently viewing as a guest! To get full-access, you need to register for a FREE account.
As a registered member, you’ll be able to:- Participate in all Tacoma discussion topics
- Communicate privately with other Tacoma owners from around the world
- Post your own photos in our Members Gallery
- Access all special features of the site
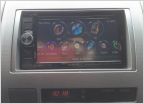 Replaced head unit in 2010 tacoma TRD DBL cab Sport
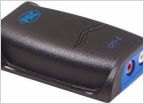 Amp installed now not voice command or call volume
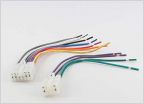 ReCurve EZQ Wire Harness System to Bit ten processor
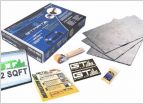 Sound deadening Question...
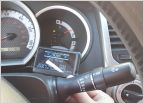 Lets talk tuning...
 Sirrius FM direct adapter hookup?
2013 DCSB Sub-less Build
Discussion in 'Audio & Video' started by uf20wop, Sep 12, 2016.


