

-
Welcome to Tacoma World!
You are currently viewing as a guest! To get full-access, you need to register for a FREE account.
As a registered member, you’ll be able to:- Participate in all Tacoma discussion topics
- Communicate privately with other Tacoma owners from around the world
- Post your own photos in our Members Gallery
- Access all special features of the site
 Tailgate lock actuator
 Crush washer stuck
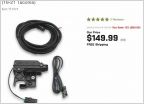 Power Tailgate Lock Conversion Kit
 Rubber roof strap anchors?
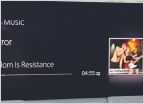 Observations on the Entune system with a flash drive
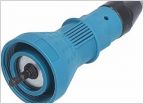 Hood struts?
DIY How To: Weatherproofing the bed cubbies
Discussion in '3rd Gen. Tacomas (2016-2023)' started by 0210, Sep 23, 2016.
Page 1 of 2
Page 1 of 2


