

-
Welcome to Tacoma World!
You are currently viewing as a guest! To get full-access, you need to register for a FREE account.
As a registered member, you’ll be able to:- Participate in all Tacoma discussion topics
- Communicate privately with other Tacoma owners from around the world
- Post your own photos in our Members Gallery
- Access all special features of the site
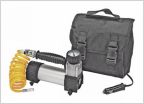 Air compressor
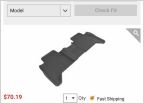 3d Maxpider Rear Weather Mats - Where Are They!?
 Rated front recovery point with skid plate
 Anyone try these?
 Magnetic Drain Plugs
 Thinkware F800 Pro 24V Connection
Icon lift install
Discussion in '3rd Gen. Tacomas (2016-2023)' started by Derek G, Oct 28, 2016.


