

-
Welcome to Tacoma World!
You are currently viewing as a guest! To get full-access, you need to register for a FREE account.
As a registered member, you’ll be able to:- Participate in all Tacoma discussion topics
- Communicate privately with other Tacoma owners from around the world
- Post your own photos in our Members Gallery
- Access all special features of the site
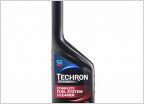 Clean yo body...throttle body
 A strange whistle at 2000 RPM or so...
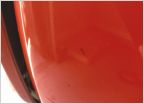 Weird brown spots…
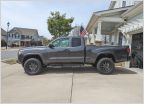 Help finding highway tires for stock '23 SR and 17x8.5 SCS SR8's
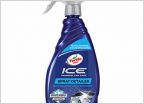 Fastest and easiest way to get rid of some wicked water spots
 Wiper blades
2017 TRS Morimoto XB LED Fog Light Install Guide
Discussion in '3rd Gen. Tacomas (2016-2023)' started by DarkestCon, Jan 13, 2017.
Page 1 of 6
Page 1 of 6


