

-
Welcome to Tacoma World!
You are currently viewing as a guest! To get full-access, you need to register for a FREE account.
As a registered member, you’ll be able to:- Participate in all Tacoma discussion topics
- Communicate privately with other Tacoma owners from around the world
- Post your own photos in our Members Gallery
- Access all special features of the site
 V6 Timing belt, what else?
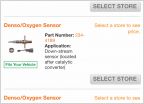 What 02 Sensor....????
 Just order 4.88 gears. Did I choose the right gear?
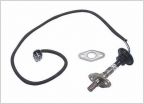 Correct O2 part numbers?
 PO441, PO442, PO446 New Charcoal Canister and Good VSV
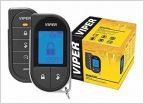 Remote Start Full kit?
Tool list
Discussion in '1st Gen. Tacomas (1995-2004)' started by Rukus, Mar 5, 2017.


