

-
Welcome to Tacoma World!
You are currently viewing as a guest! To get full-access, you need to register for a FREE account.
As a registered member, you’ll be able to:- Participate in all Tacoma discussion topics
- Communicate privately with other Tacoma owners from around the world
- Post your own photos in our Members Gallery
- Access all special features of the site
 Hot Shower made easy. UNENDING hot showers!
 Offroading In So Cal. . .
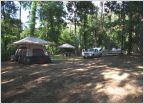
 How do you document your trips?
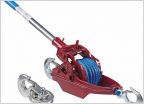 Hand winch instead of power winch?
 Green bottle propane vs 5lb tabk
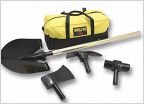 Hi-Lift Shovel Handle
SMITTYBILT Gen2 XRC and X20 Winches
Discussion in 'Off-Roading & Trails' started by JWaldz, Apr 21, 2014.
Page 8 of 8
Page 8 of 8
Products Discussed in


