

-
Welcome to Tacoma World!
You are currently viewing as a guest! To get full-access, you need to register for a FREE account.
As a registered member, you’ll be able to:- Participate in all Tacoma discussion topics
- Communicate privately with other Tacoma owners from around the world
- Post your own photos in our Members Gallery
- Access all special features of the site
Quick Links: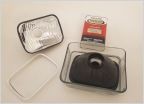 Glass Metal Buckets 1995-1997 headlights HID projector 7x6 BI-XENON: MORIMOTO MINI H1 7.0
 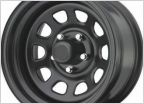 Need guidance, will these rims work?
 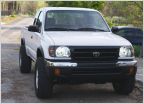 Black Housing Headlights/Corner Lights
 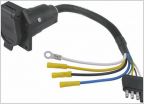 7 pin trailer wiring where to connect 95.5 truck
  Battery post connectors
  How Do I Get Rid of the "Products Discussed" Crap at the Bottom of the Page?
Frame rehab plans on my 99
Discussion in '1st Gen. Tacomas (1995-2004)' started by Stutely, Feb 16, 2017.
Page 4 of 5
Page 4 of 5


