

-
Welcome to Tacoma World!
You are currently viewing as a guest! To get full-access, you need to register for a FREE account.
As a registered member, you’ll be able to:- Participate in all Tacoma discussion topics
- Communicate privately with other Tacoma owners from around the world
- Post your own photos in our Members Gallery
- Access all special features of the site
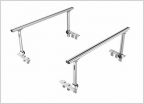 WTB - Thule XK1 Adapter
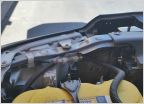 ARB CKMA 12 compressor in bed box of 2012 Tacoma
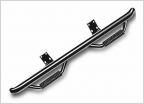 Drilling for N-Fab / Smittybuilt nerf steps
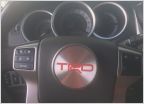 Looking for these trd center caps
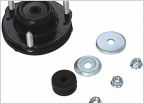 2011 TRD Front Shock Mounts
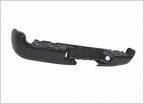 Need New Rear Bumper
Installing a fridge
Discussion in '2nd Gen. Tacomas (2005-2015)' started by dziner, May 17, 2017.
Page 4 of 5
Page 4 of 5
Products Discussed in


