

-
Welcome to Tacoma World!
You are currently viewing as a guest! To get full-access, you need to register for a FREE account.
As a registered member, you’ll be able to:- Participate in all Tacoma discussion topics
- Communicate privately with other Tacoma owners from around the world
- Post your own photos in our Members Gallery
- Access all special features of the site
 Moist ass on Corinthian leather
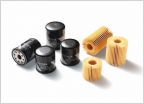 Saw this.. purolator synthetic oil filter?
 Differential fluid identification
 Source for Tacoma Sunvisors
 A/C light blinking
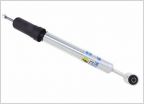 Can someone verify Bilstein 5100 part #'s for me please? Also a lift question...
Runing wiring above the windshield
Discussion in '2nd Gen. Tacomas (2005-2015)' started by doghair, Jun 24, 2017.


