

-
Welcome to Tacoma World!
You are currently viewing as a guest! To get full-access, you need to register for a FREE account.
As a registered member, you’ll be able to:- Participate in all Tacoma discussion topics
- Communicate privately with other Tacoma owners from around the world
- Post your own photos in our Members Gallery
- Access all special features of the site
 1/4" or 1/2" driver? (Impact driver)
 Amazon Maxa innovations traction boards
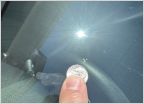 Is it worth it to fill this chip in windshield?
 Will "Tacoma PRO GRILL" fit a 2013 ?
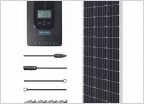 Help choosing a solar panel
CV axel removal advice
Discussion in 'Technical Chat' started by owen06, Jul 1, 2017.


