-
Welcome to Tacoma World!
You are currently viewing as a guest! To get full-access, you need to register for a FREE account.
As a registered member, you’ll be able to:- Participate in all Tacoma discussion topics
- Communicate privately with other Tacoma owners from around the world
- Post your own photos in our Members Gallery
- Access all special features of the site
 Door Panel
 Fuel filter replacement
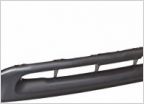 Cheap front bumper valance
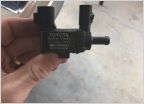 Looking for a Vacuum solenoid switch
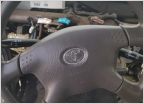 Bad Idea/dangerous to paint steering wheel air bag?
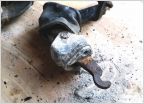 E-Brake Bell Cranks Replaced - Now a Question About Cables
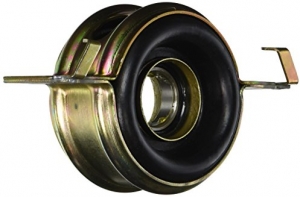
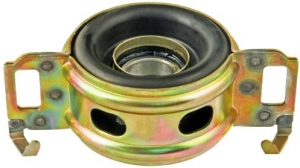
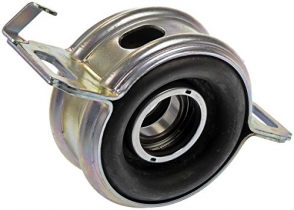
How To: Replacing Carrier Bearing
Discussion in '1st Gen. Tacomas (1995-2004)' started by TacomaJPP, Jan 27, 2013.
Page 13 of 23
Page 13 of 23
Products Discussed in