

-
Welcome to Tacoma World!
You are currently viewing as a guest! To get full-access, you need to register for a FREE account.
As a registered member, you’ll be able to:- Participate in all Tacoma discussion topics
- Communicate privately with other Tacoma owners from around the world
- Post your own photos in our Members Gallery
- Access all special features of the site
 Airbags install.
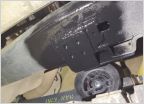
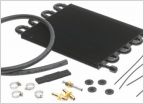 Well I am officially convinced I need a trans cooler...
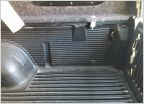 Drill into truck bed for sleeping platform support?
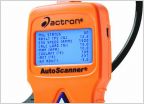 OBDII Scanner from Autozone. Good value?
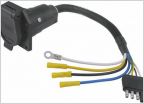 Installing brake controller on 02 4x4 Tacoma
Rack & Pinion Service Tools & tips
Discussion in '1st Gen. Tacomas (1995-2004)' started by Dirty Pool, Jan 25, 2014.
Page 2 of 2
Page 2 of 2


