

-
Welcome to Tacoma World!
You are currently viewing as a guest! To get full-access, you need to register for a FREE account.
As a registered member, you’ll be able to:- Participate in all Tacoma discussion topics
- Communicate privately with other Tacoma owners from around the world
- Post your own photos in our Members Gallery
- Access all special features of the site
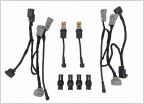 2022 Tacoma limited led hyper Flash
 My REDARC Tow-Pro Liberty Install
 BigMW 2016 TRD Trapper Edition build, and trapping and hunting graphic tales
 Trail Edition tie down anchors.
 TPMS nightmare
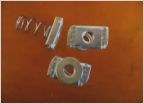 Rail bolts / sliders
Light bar question for new '16 taco...
Discussion in '3rd Gen. Tacomas (2016-2023)' started by Barrycuda, Dec 30, 2017.


