

-
Welcome to Tacoma World!
You are currently viewing as a guest! To get full-access, you need to register for a FREE account.
As a registered member, you’ll be able to:- Participate in all Tacoma discussion topics
- Communicate privately with other Tacoma owners from around the world
- Post your own photos in our Members Gallery
- Access all special features of the site
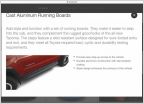 Factory Running boards ?
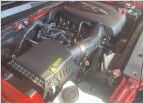 K&N Intake? Which model?
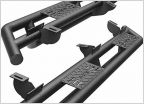 Oedro or Tyger Nerf bars
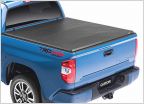 Tonneau suggestions?
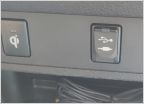 Is there a simple more powerful replacement for stock USB on dash?
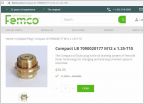 FEMCO or ValvoMax vs FUMOTO
Auxbeam 32" 180W 5D led light bar review (bumper mounted)
Discussion in '3rd Gen. Tacomas (2016-2023)' started by rlx02, Feb 17, 2018.
Page 1 of 4
Page 1 of 4
Products Discussed in


