

-
Welcome to Tacoma World!
You are currently viewing as a guest! To get full-access, you need to register for a FREE account.
As a registered member, you’ll be able to:- Participate in all Tacoma discussion topics
- Communicate privately with other Tacoma owners from around the world
- Post your own photos in our Members Gallery
- Access all special features of the site
 LEX's slow 100 series build.
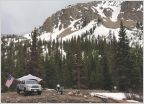 My Off Road Worthy 5x8 Camper Build
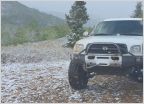 Seanpistol's first-gen Tundra
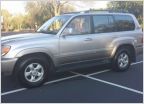
 The not so special 2006 GX 470, Sport - Unicorn Edition
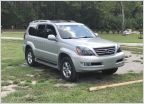 Jane the GX470 (SOLD it already lol)
 Shirlee the Pickup build and adventures
Doozy4212's Better Truck Drawer Build/Guide
Discussion in 'Other Builds' started by upTOPOverland_Drew, Feb 15, 2018.
Page 6 of 11
Page 6 of 11

