

-
Welcome to Tacoma World!
You are currently viewing as a guest! To get full-access, you need to register for a FREE account.
As a registered member, you’ll be able to:- Participate in all Tacoma discussion topics
- Communicate privately with other Tacoma owners from around the world
- Post your own photos in our Members Gallery
- Access all special features of the site
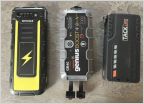 Jump packs
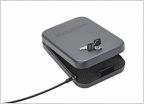 Glove compartment lock
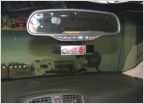 Valentine One Radar Locator
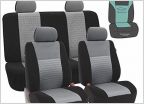 Anyone have these seat covers?
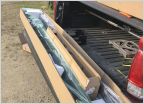 Tyger 4” Side Steps
2016+ Tacoma CBI Offroad Fab T3 Front Bumper
Discussion in 'Product Reviews' started by Danactive, Nov 21, 2016.


