
-
Welcome to Tacoma World!
You are currently viewing as a guest! To get full-access, you need to register for a FREE account.
As a registered member, you’ll be able to:- Participate in all Tacoma discussion topics
- Communicate privately with other Tacoma owners from around the world
- Post your own photos in our Members Gallery
- Access all special features of the site
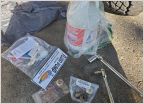 1999 Tacoma 2.7L 4x4 Manual Tranny and Diff Fluid Change
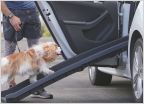 Dog ramp
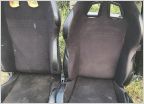 Any idea what these seats are?
 MAF sensor resistance test
 Sounds like marbles behind timing cover
1st Gen Lunchtable Thread - General Discussion
Discussion in '1st Gen. Tacomas (1995-2004)' started by Speedytech7, May 31, 2018.
Page 1040 of 26211
Page 1040 of 26211
Products Discussed in


