

-
Welcome to Tacoma World!
You are currently viewing as a guest! To get full-access, you need to register for a FREE account.
As a registered member, you’ll be able to:- Participate in all Tacoma discussion topics
- Communicate privately with other Tacoma owners from around the world
- Post your own photos in our Members Gallery
- Access all special features of the site
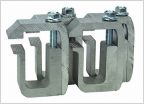 2nd gen camper shell questions
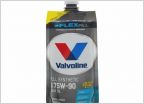 Conventional vs Synthetic Gear Oil
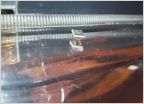 Micro Chip in Headlight 2015 tacoma
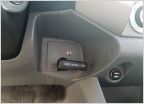 Back up camera
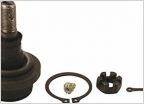 Why are OEM lower ball joints so hard to find?
Hub assembly additional parts
Discussion in '2nd Gen. Tacomas (2005-2015)' started by youenjoymytacoAT2015, Sep 30, 2018.

