-
Welcome to Tacoma World!
You are currently viewing as a guest! To get full-access, you need to register for a FREE account.
As a registered member, you’ll be able to:- Participate in all Tacoma discussion topics
- Communicate privately with other Tacoma owners from around the world
- Post your own photos in our Members Gallery
- Access all special features of the site
 Rear Suspension advice and help
 Fox Level 2 kit with or without OME Dakar Pack
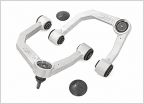 Diff drop for 3.5 inch lift?
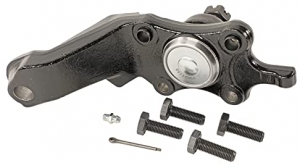
 3rd Gen UCA Bolt and Nut
 2013 Tacoma Non-TRD Suspension Headaches
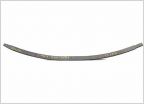 Leaf Springs that will give me 3" lift on a double cab?
Icon Stage 4 Install Detailed Instructions
Discussion in 'Suspension' started by DrSpaceman, Jan 2, 2012.
Page 6 of 7
Page 6 of 7