

-
Welcome to Tacoma World!
You are currently viewing as a guest! To get full-access, you need to register for a FREE account.
As a registered member, you’ll be able to:- Participate in all Tacoma discussion topics
- Communicate privately with other Tacoma owners from around the world
- Post your own photos in our Members Gallery
- Access all special features of the site
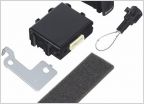 Glass breakage alarm
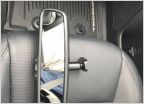 Auto dim rear view mirror
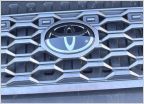 2020-2023 TRD Sport OEM grill with "Raptor" lights
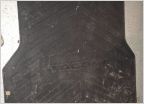 OEM Toyota PT580-35050-SB Bed Mat $50 pickup PA
 ISO: Hondo Garage CB mic holder
 WTB: BillieBars | KBvoodoo Bed bars
ECT Stealth PRO shift knob
Discussion in '3rd Gen Tacoma Parts Marketplace (2016-2023)' started by MESO, Mar 8, 2019.
Page 37 of 135
Page 37 of 135
Products Discussed in


