

-
Welcome to Tacoma World!
You are currently viewing as a guest! To get full-access, you need to register for a FREE account.
As a registered member, you’ll be able to:- Participate in all Tacoma discussion topics
- Communicate privately with other Tacoma owners from around the world
- Post your own photos in our Members Gallery
- Access all special features of the site
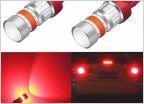 LED Tail lights
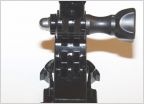 Valentine 1 to GoPro mount 2016 TRD Offroad
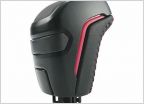 TRD accessory shify knob info
 BORA or Spidertrax?
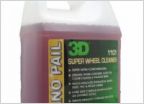 Wheel Cleaner/Wheel Wax
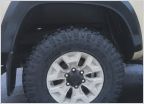 Newbie 3rd Genner- Where To Start?
BUYER BEWARE: 3rd Gen Plug-N-Play Tailgate Bolt-N-Lock & Tailgate Bolt-N-Open
Discussion in '3rd Gen. Tacomas (2016-2023)' started by KTJO 4x4, Feb 10, 2019.
- Thread Status:
- Not open for further replies.
Page 80 of 121
Page 80 of 121
- Thread Status:
- Not open for further replies.
Products Discussed in


