-
Welcome to Tacoma World!
You are currently viewing as a guest! To get full-access, you need to register for a FREE account.
As a registered member, you’ll be able to:- Participate in all Tacoma discussion topics
- Communicate privately with other Tacoma owners from around the world
- Post your own photos in our Members Gallery
- Access all special features of the site
 General Questions on Installation of Amp with Aftermarket Head Unit
 This Upgrade... Anyone have any suggestions for or against?
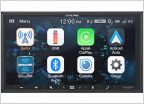
 Help me decide, Pioneer AVHP 8400 or 4400
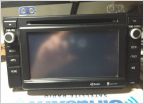 2014 radio into 2013
 01 Front Speaker selection
Dolbytone's TuneThread - Experimentation Edition
Discussion in 'Audio & Video' started by dolbytone, Jun 9, 2019.