

-
Welcome to Tacoma World!
You are currently viewing as a guest! To get full-access, you need to register for a FREE account.
As a registered member, you’ll be able to:- Participate in all Tacoma discussion topics
- Communicate privately with other Tacoma owners from around the world
- Post your own photos in our Members Gallery
- Access all special features of the site
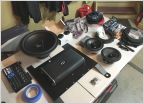 Sound System Upgrade with Pioneer DMH-WC6600NEX
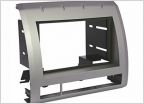 Installing ddx712 with JBL
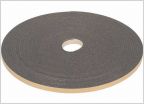 Buzzing interior panels
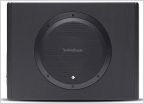 1st Gen - Under Seat Low Profile Sub
 Rearview Mirror Rattle (Sub Install)
Car solutions reverse anytime + front camera install
Discussion in 'Audio & Video' started by abidar, Apr 15, 2019.
Page 14 of 26
Page 14 of 26
Products Discussed in


