

-
Welcome to Tacoma World!
You are currently viewing as a guest! To get full-access, you need to register for a FREE account.
As a registered member, you’ll be able to:- Participate in all Tacoma discussion topics
- Communicate privately with other Tacoma owners from around the world
- Post your own photos in our Members Gallery
- Access all special features of the site
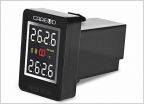 How Many People Are Running A TPMS?
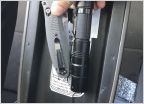 How to mount EDC tools inside of console?
 2.7l 3rz oil pump leak
 Any opinions of Fabtech coilover kit
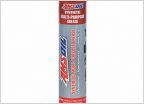 A few Qs on fluid changes and chassis lube
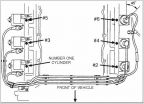 What kind of spark plugs do you recommend
Replacing injectors, what else while I’m there?
Discussion in '1st Gen. Tacomas (1995-2004)' started by BeLance89, Nov 30, 2017.
Page 2 of 4
Page 2 of 4


