

-
Welcome to Tacoma World!
You are currently viewing as a guest! To get full-access, you need to register for a FREE account.
As a registered member, you’ll be able to:- Participate in all Tacoma discussion topics
- Communicate privately with other Tacoma owners from around the world
- Post your own photos in our Members Gallery
- Access all special features of the site
 Just talked to a minute muffler shop
 Help with CAI order....
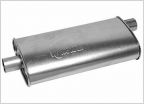
 Which magnaflow muffler?
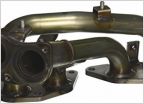 2.7 Exhaust Manifold advice?
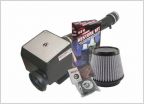 Which AFE intake to buy.
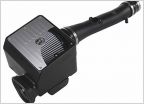 Help me out with picking an exhaust/cold air intake
TRD supercharger drivers side spark plug change WITHOUT pulling SC
Discussion in 'Performance and Tuning' started by CtTaco, Dec 10, 2013.
Page 2 of 3
Page 2 of 3

