

-
Welcome to Tacoma World!
You are currently viewing as a guest! To get full-access, you need to register for a FREE account.
As a registered member, you’ll be able to:- Participate in all Tacoma discussion topics
- Communicate privately with other Tacoma owners from around the world
- Post your own photos in our Members Gallery
- Access all special features of the site
 Rear Sliding Window Latch, Just Glued?
 AC Evaporator (Probably) Leak, Best Don't Fix Options
 To build a complete strut w/o reusing any parts...
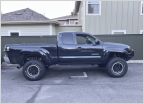 First Time Overlander Advice
 Dakar leaf springs
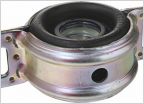 Vibration between 110 - 120 kms/hr
Headlight haze
Discussion in '2nd Gen. Tacomas (2005-2015)' started by M37r1c, Jun 1, 2020.


