

-
Welcome to Tacoma World!
You are currently viewing as a guest! To get full-access, you need to register for a FREE account.
As a registered member, you’ll be able to:- Participate in all Tacoma discussion topics
- Communicate privately with other Tacoma owners from around the world
- Post your own photos in our Members Gallery
- Access all special features of the site
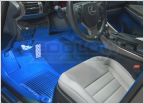 Ambient lighting
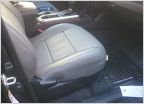 Seat covers??
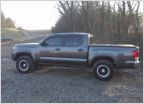 TPMS, New TRD Beadlock Wheels
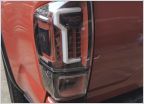 Blacked out led taillight recommendations
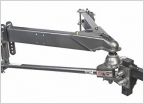 Weight distribution hitch with sway control?
 Front Brake Lines Suggestions
3rd Gen Pinch Weld Job [Fitting 305/70/16]
Discussion in '3rd Gen. Tacomas (2016-2023)' started by nautical__nonsense, Apr 7, 2018.


