

-
Welcome to Tacoma World!
You are currently viewing as a guest! To get full-access, you need to register for a FREE account.
As a registered member, you’ll be able to:- Participate in all Tacoma discussion topics
- Communicate privately with other Tacoma owners from around the world
- Post your own photos in our Members Gallery
- Access all special features of the site
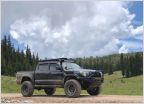 Smw62891’s Sasquatch build!
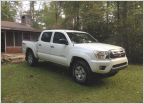 C1ph3r's 2014 DCSB TRD Off road build
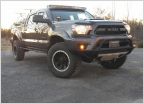 Taczilla's Build... Nothing Fancy, Just a Work Limo... STOLEN!... maudit tabernacle!
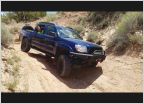 Wile's "The Coyote" Build (OCD edition)
 Ian408's 2009 DCSB TRD Sport Build
 My Build (HBGIBBY)
SANDY EGGO BUILD & BS
Discussion in '2nd Gen. Builds (2005-2015)' started by theolee, Apr 30, 2020.
Page 2 of 13
Page 2 of 13
Products Discussed in


