

-
Welcome to Tacoma World!
You are currently viewing as a guest! To get full-access, you need to register for a FREE account.
As a registered member, you’ll be able to:- Participate in all Tacoma discussion topics
- Communicate privately with other Tacoma owners from around the world
- Post your own photos in our Members Gallery
- Access all special features of the site
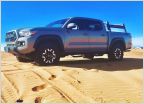 Installed my KB Voodoo Taco Max!
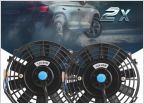 Cap Vent Fan
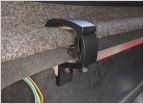 Topper Clamps - Do you need bed rails?
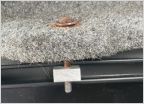 Leer Bolts - Placement/Torque
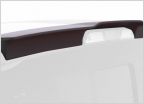 Possbile spoiler for toppers.
 Rack on Tonneau/Bed Cover
Clapped out A.R.E. Z-Series rehab, paint + build thread / 2nd Gen AC
Discussion in 'Tonneau Covers, Caps and Shells' started by seminariii, Jul 30, 2020.


