

-
Welcome to Tacoma World!
You are currently viewing as a guest! To get full-access, you need to register for a FREE account.
As a registered member, you’ll be able to:- Participate in all Tacoma discussion topics
- Communicate privately with other Tacoma owners from around the world
- Post your own photos in our Members Gallery
- Access all special features of the site
 U joints
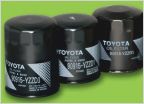 Oil Filter for 2.7 Liter
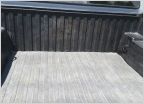 D-ring install help? Can't remove bed bolts.
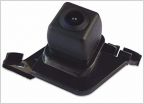 2014 Tacoma back up camera!
 Bed Rail T-nuts- OE Toyota PN?
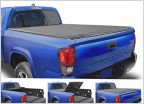 Soft Tonneau Covers in the Winter
Wiring for extra reverse light
Discussion in '2nd Gen. Tacomas (2005-2015)' started by 4r_to_taco, Oct 1, 2017.
Page 3 of 3
Page 3 of 3

