

-
Welcome to Tacoma World!
You are currently viewing as a guest! To get full-access, you need to register for a FREE account.
As a registered member, you’ll be able to:- Participate in all Tacoma discussion topics
- Communicate privately with other Tacoma owners from around the world
- Post your own photos in our Members Gallery
- Access all special features of the site
 Do i lose my tie downs with a tonneau roll up?
 Suggestions on sealing holes in Leer cap
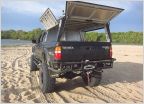 What brand / model is this camper shell??
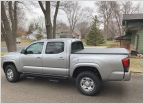 $300-ish bed covers from ebay or amazon?
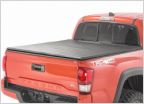 Rough Country vs Gator Tri-Fold Tonneau Cover
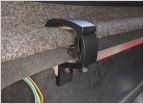 Topper Clamps - Do you need bed rails?
Kimbo Camper BS and Mods
Discussion in 'Tonneau Covers, Caps and Shells' started by Voltron4x4, Feb 5, 2020.
Page 12 of 122
Page 12 of 122
Products Discussed in


