

-
Welcome to Tacoma World!
You are currently viewing as a guest! To get full-access, you need to register for a FREE account.
As a registered member, you’ll be able to:- Participate in all Tacoma discussion topics
- Communicate privately with other Tacoma owners from around the world
- Post your own photos in our Members Gallery
- Access all special features of the site
 20"mud tires
 Valve cover gasket "While I'm at it", What else?
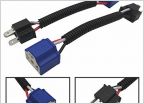 95.5 head lights
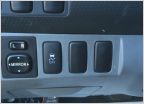 Xtra cab OBA compressor In-Cab
 Pink Milk shake issue from the rad in to transmission...
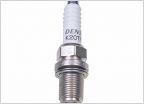 One step colder spark plug
Any suggestions on getting these JIS screws out?
Discussion in '1st Gen. Tacomas (1995-2004)' started by ensemaine, Mar 31, 2021.

