

-
Welcome to Tacoma World!
You are currently viewing as a guest! To get full-access, you need to register for a FREE account.
As a registered member, you’ll be able to:- Participate in all Tacoma discussion topics
- Communicate privately with other Tacoma owners from around the world
- Post your own photos in our Members Gallery
- Access all special features of the site
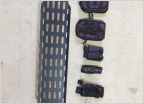 Meso molle rack with pouches - TX
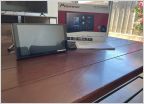 Pioneer DMH-WC6600NEX and Maestro iDatalink For Sale (San Luis Obispo)
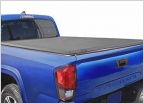 FREE Exhaust and Tonneau Cover OHIO
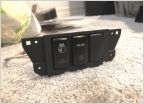 Tacoma Narrow 3-Switch Plate (NEW)
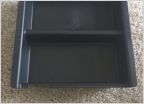 Salex Center Console Tray...SOLD
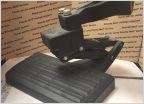 SOLD - OEM Bed Step, Tampa FL.
SR/SR5 to TRD headlight conversion harness
Discussion in '3rd Gen Tacoma Parts Marketplace (2016-2023)' started by Puppypunter, Jul 11, 2021.
- Thread Status:
- Not open for further replies.
Page 1 of 2
Page 1 of 2
- Thread Status:
- Not open for further replies.


